Image

ShareMondays2020 – Chinoiserie

Laquered

ShareMondays2020 – Chinoiserie

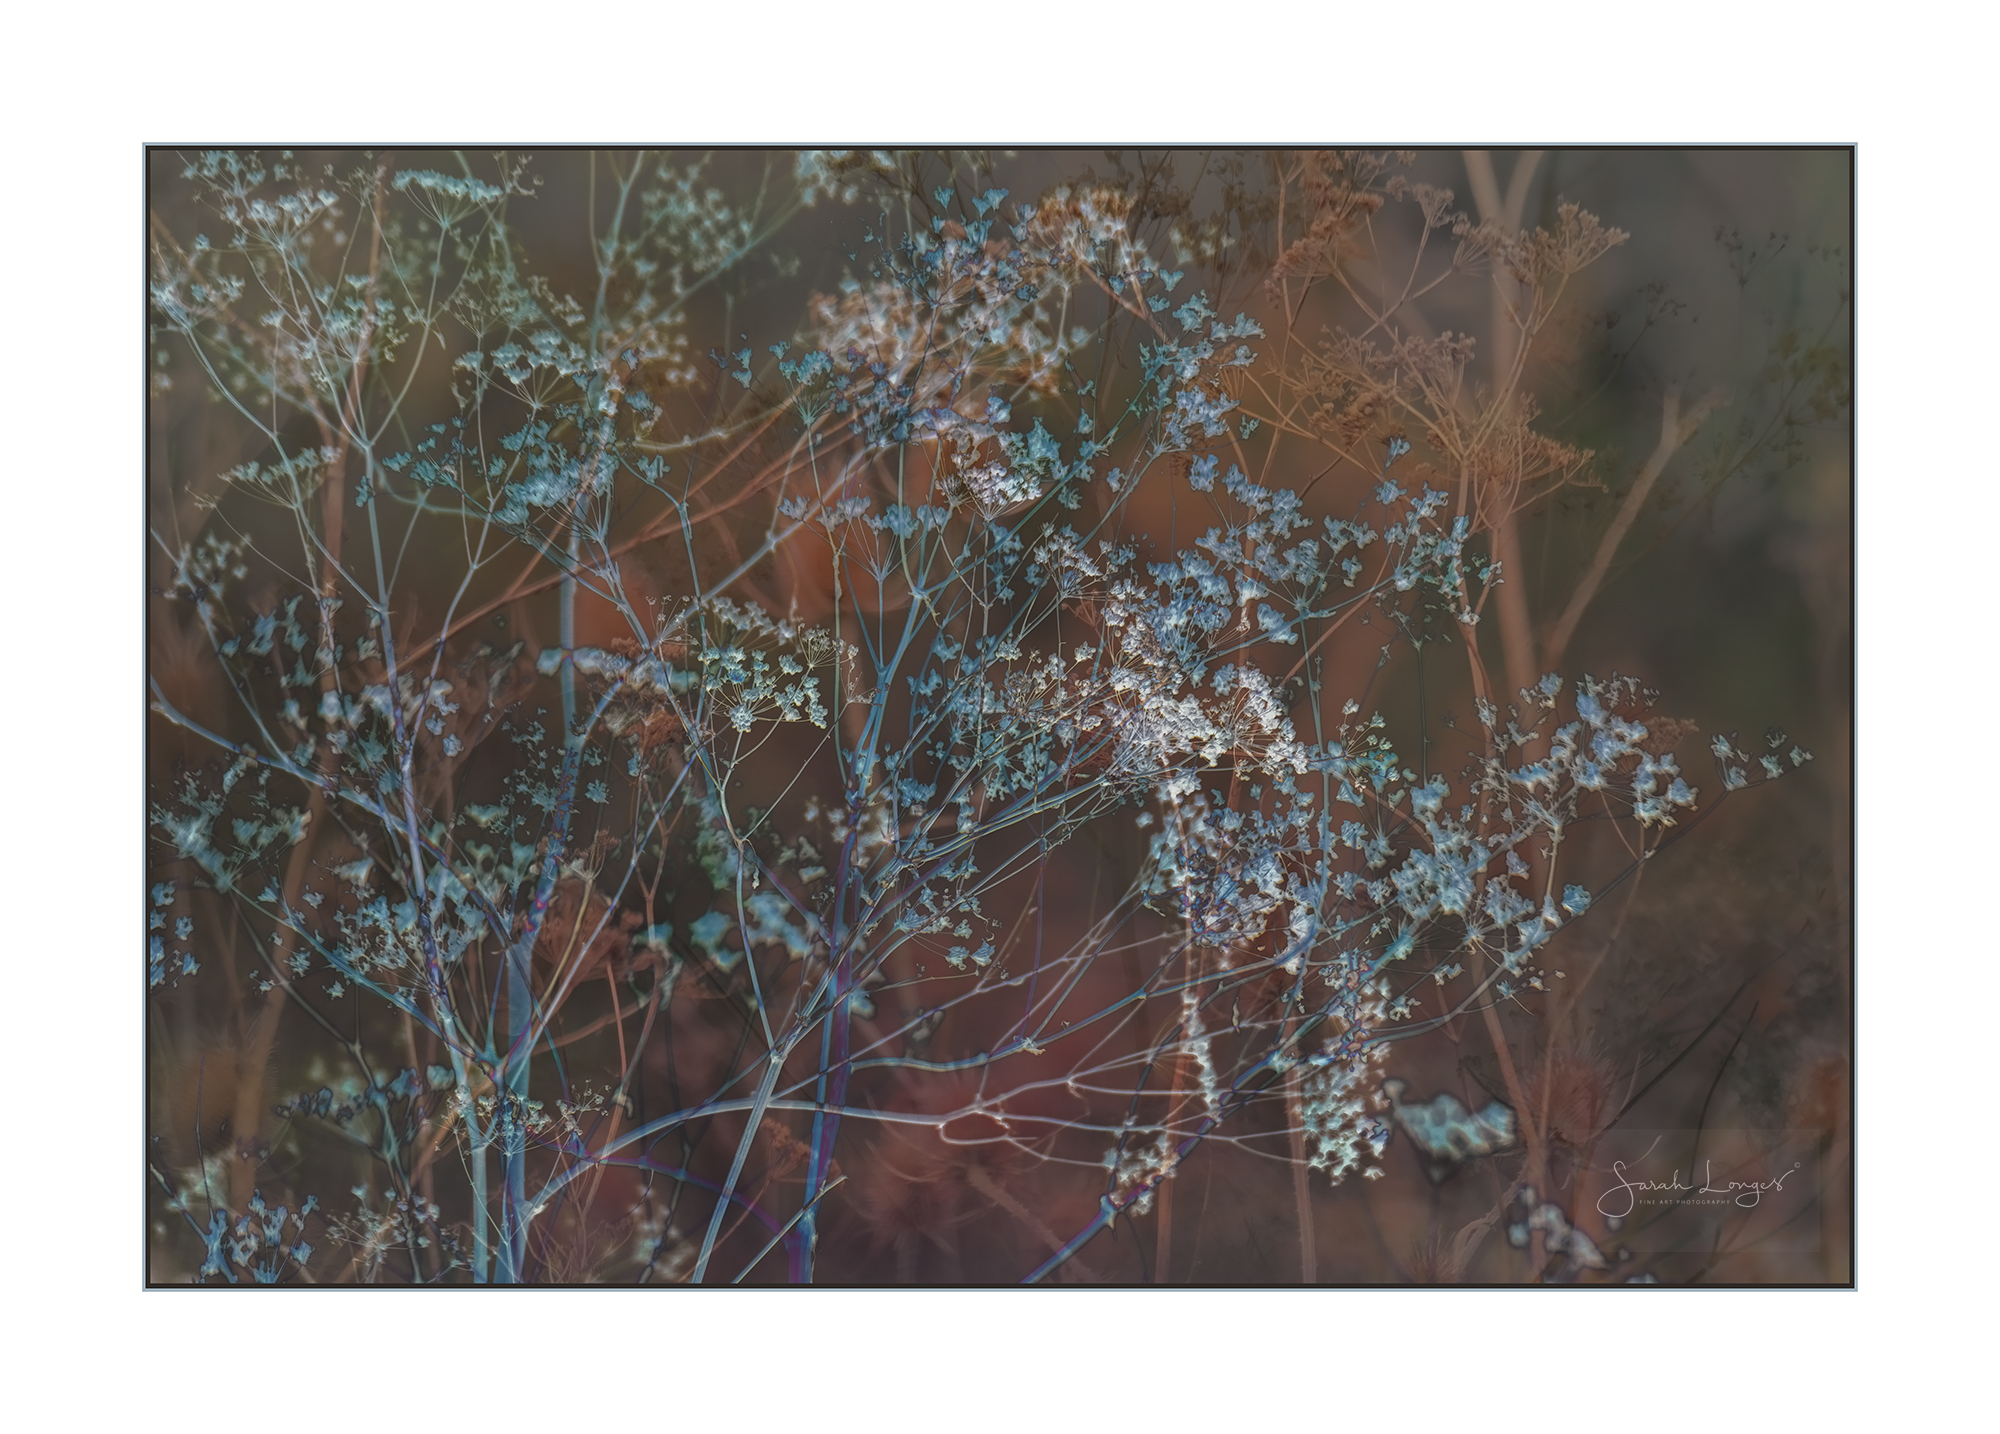
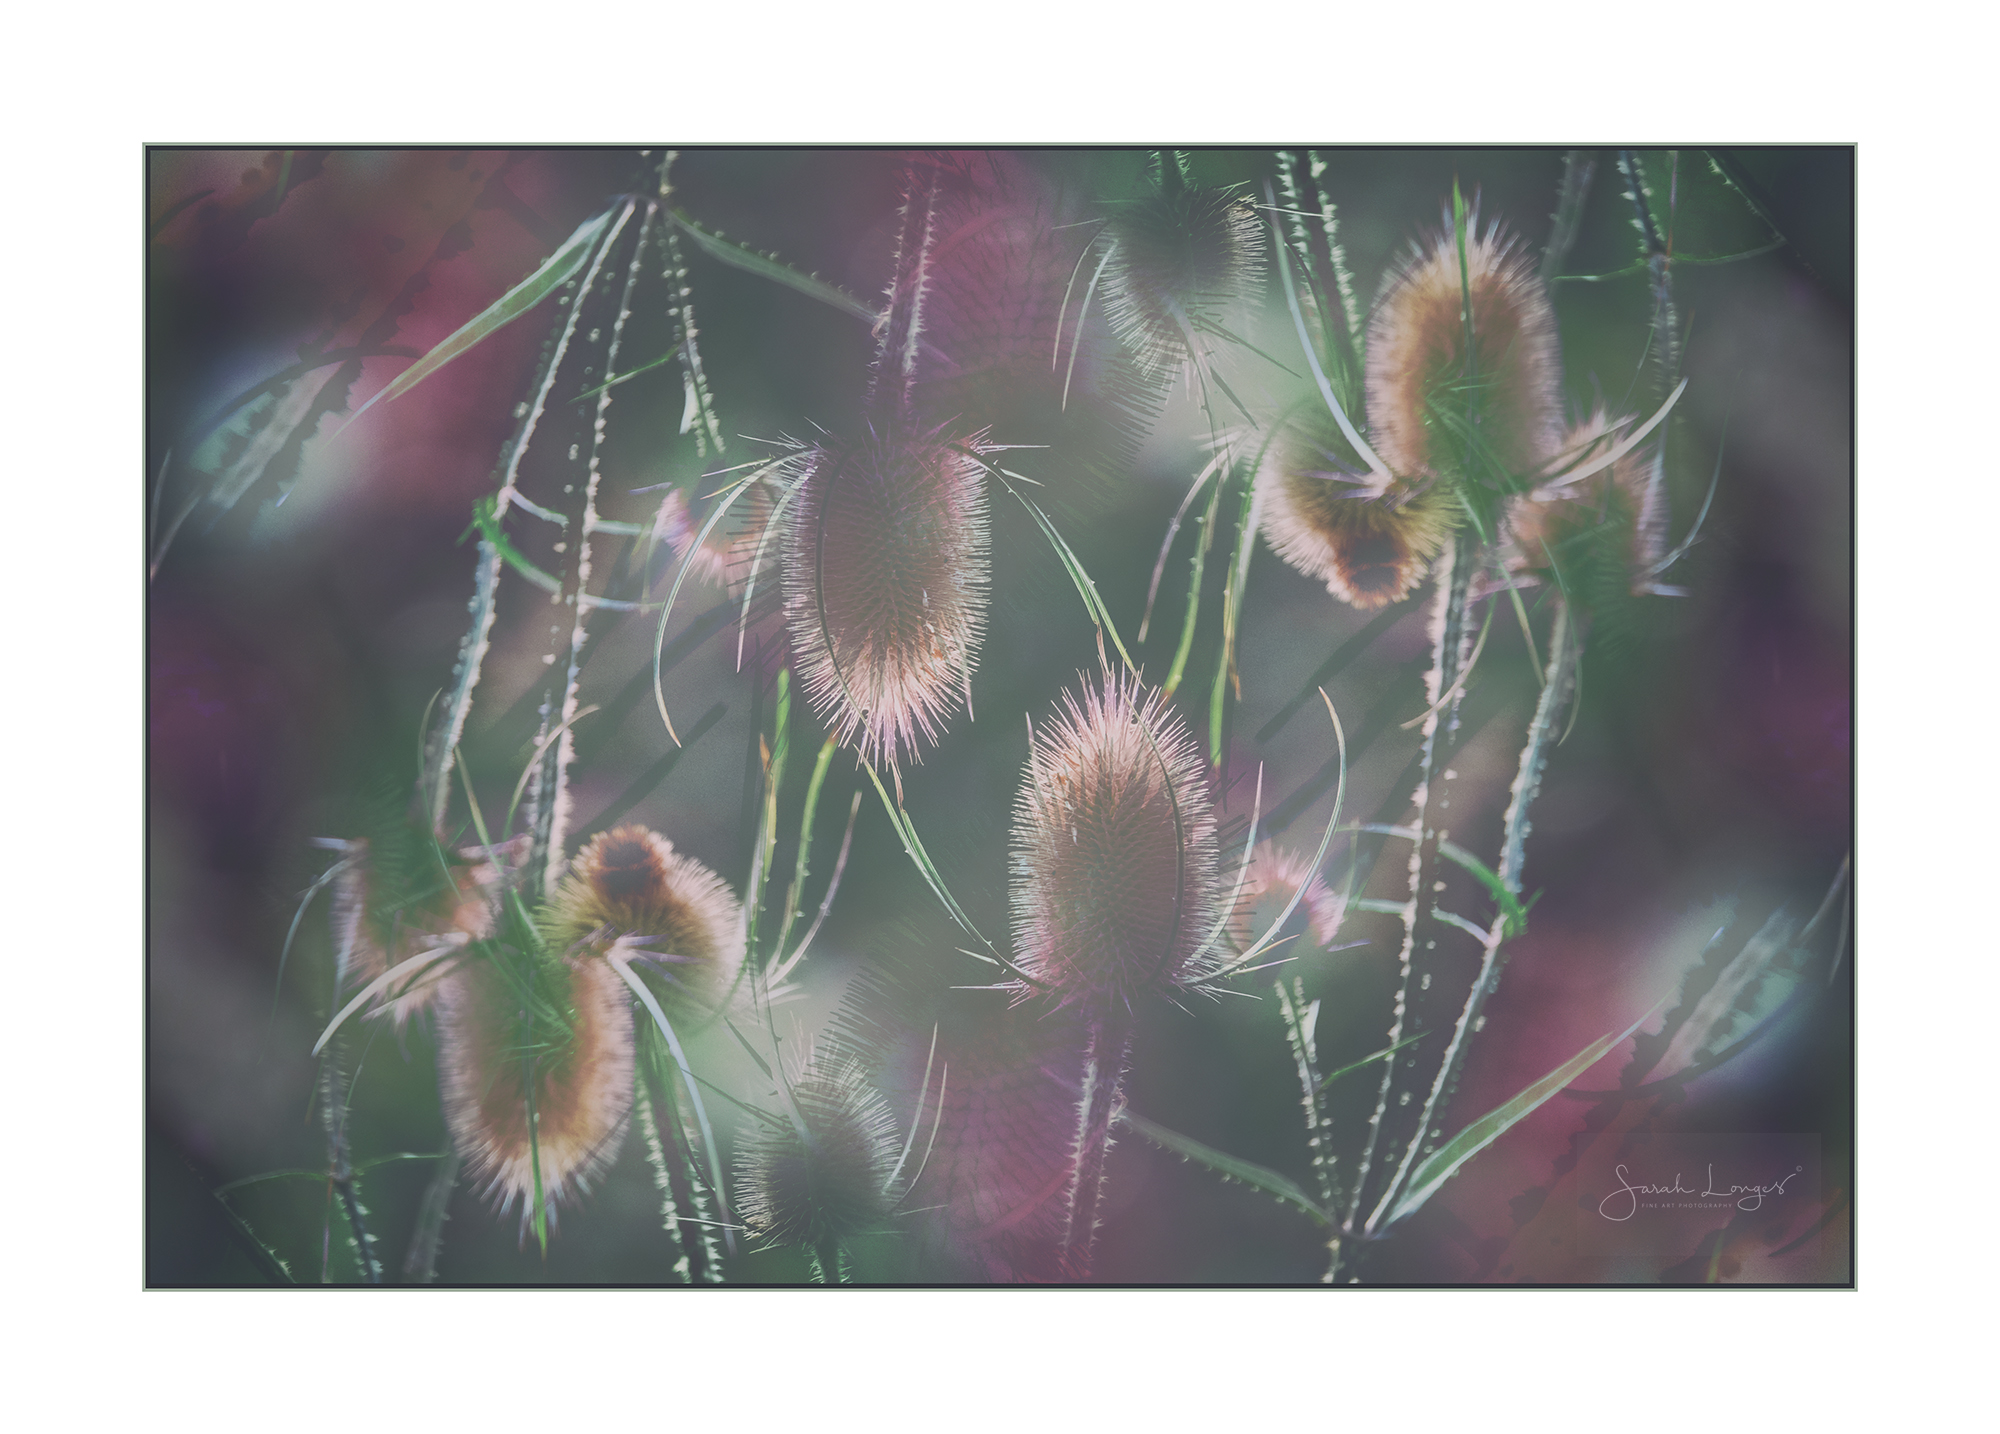
The term Chinoiserie refers to western-made arts and crafts, particularly of the 18th century, that were characterised by motifs seen in oriental artwork on wood, porcelain, silk and metal. I’ve not included any of the fantastical beasts that appear in many of those pieces, as I have always been drawn to the art form for the beautiful shaping of the natural elements. Whenever I see seed-heads lit up by the late sun against a dark backdrop, I can’t help but be reminded of the shapes of cherry trees and bonsai on dark lacquered wood, or inlaid on metal.

Chinoiserie

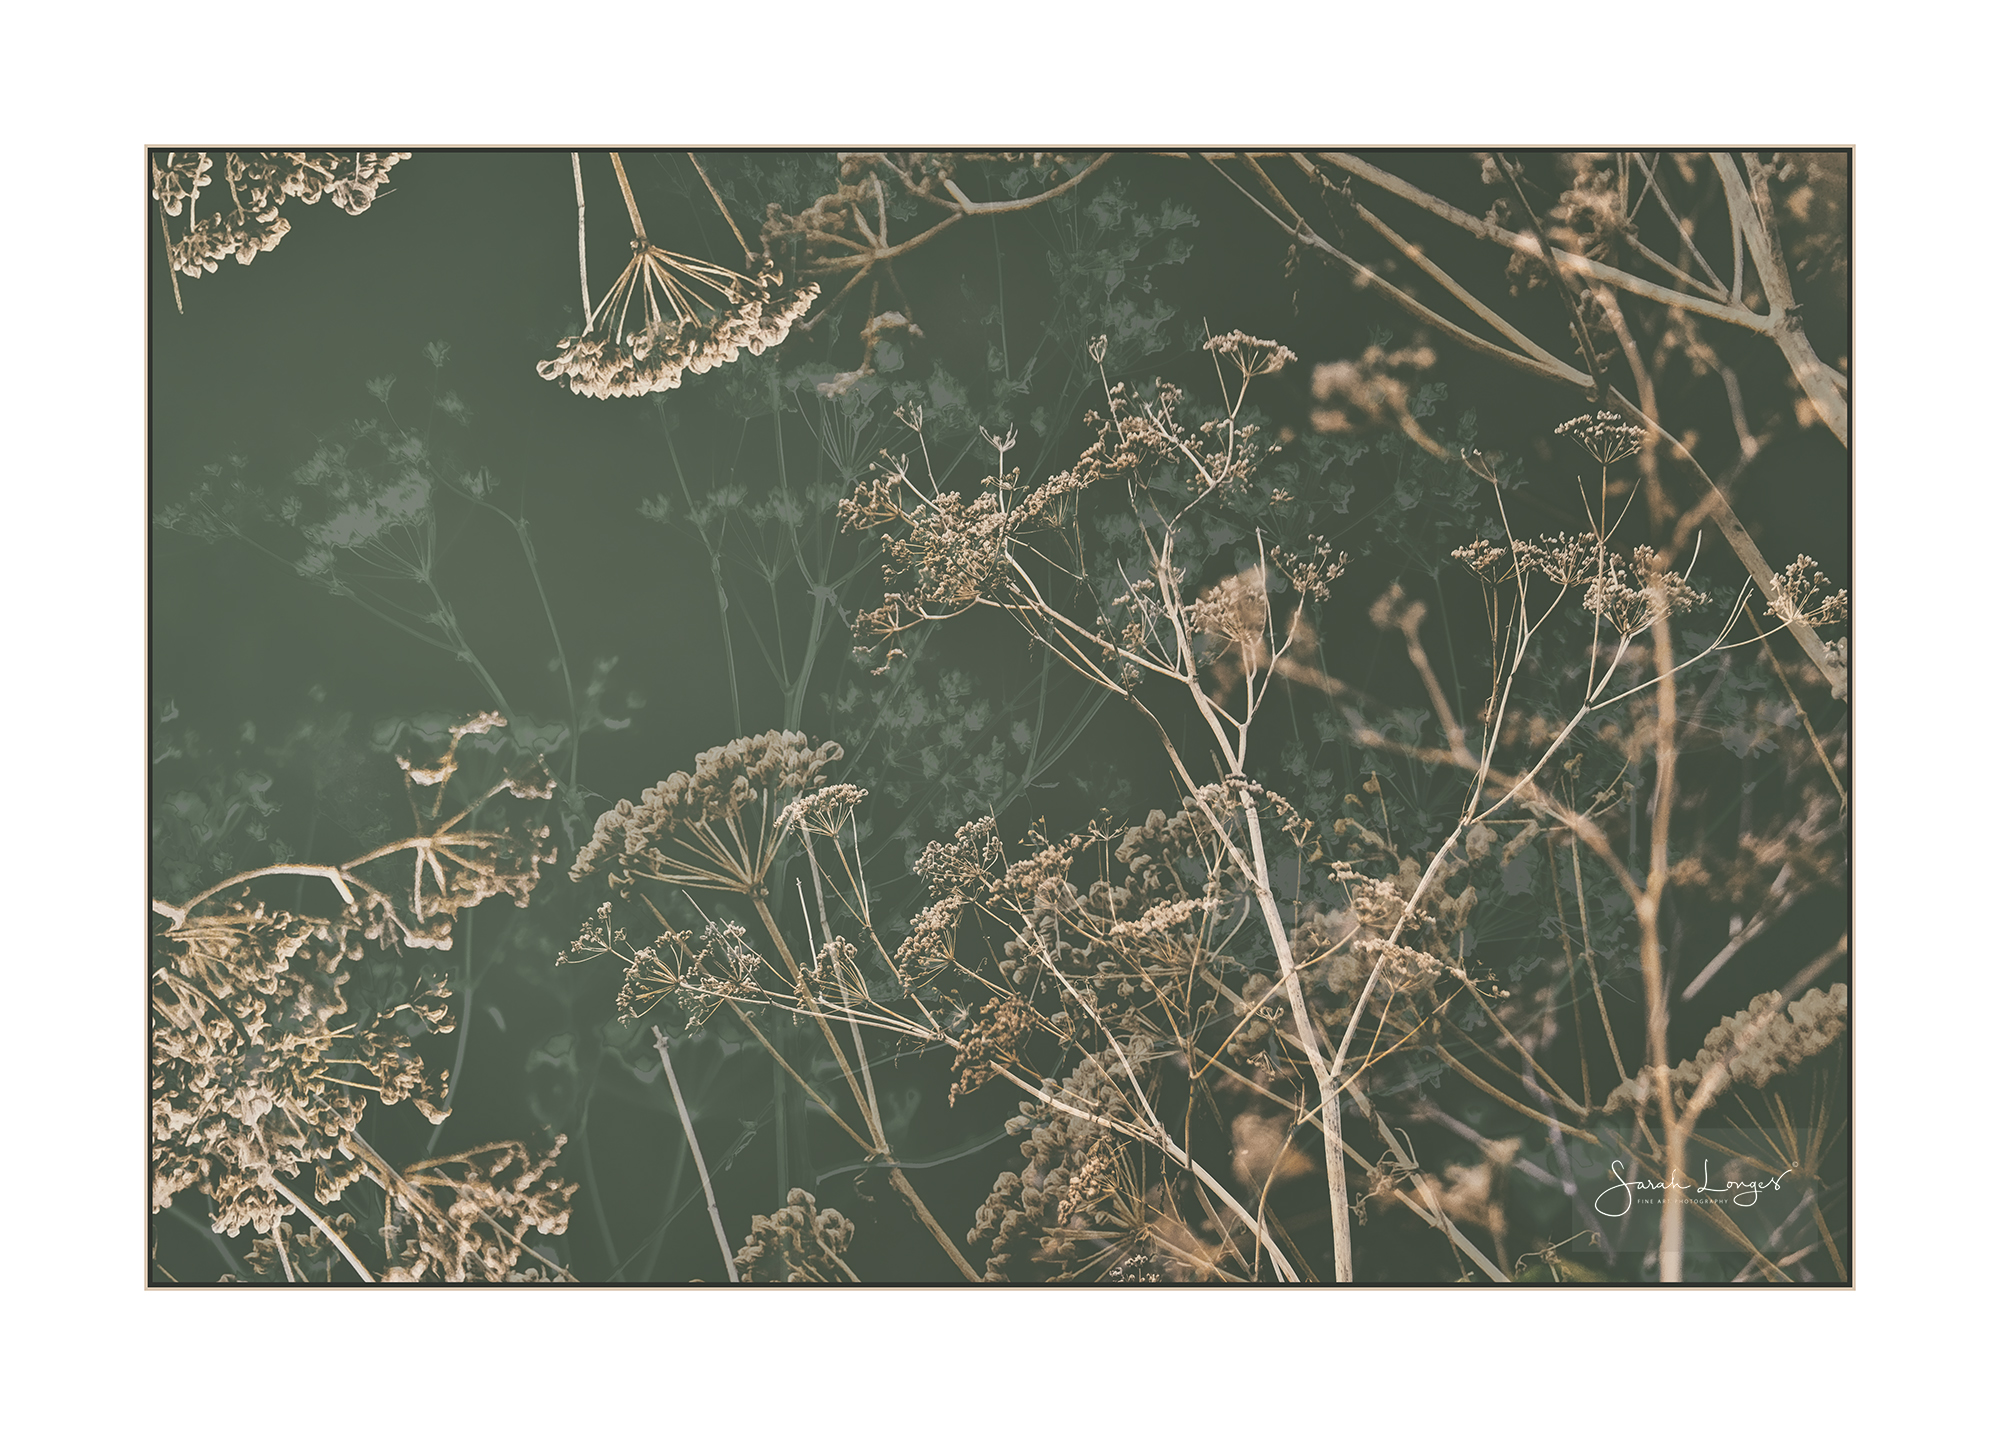
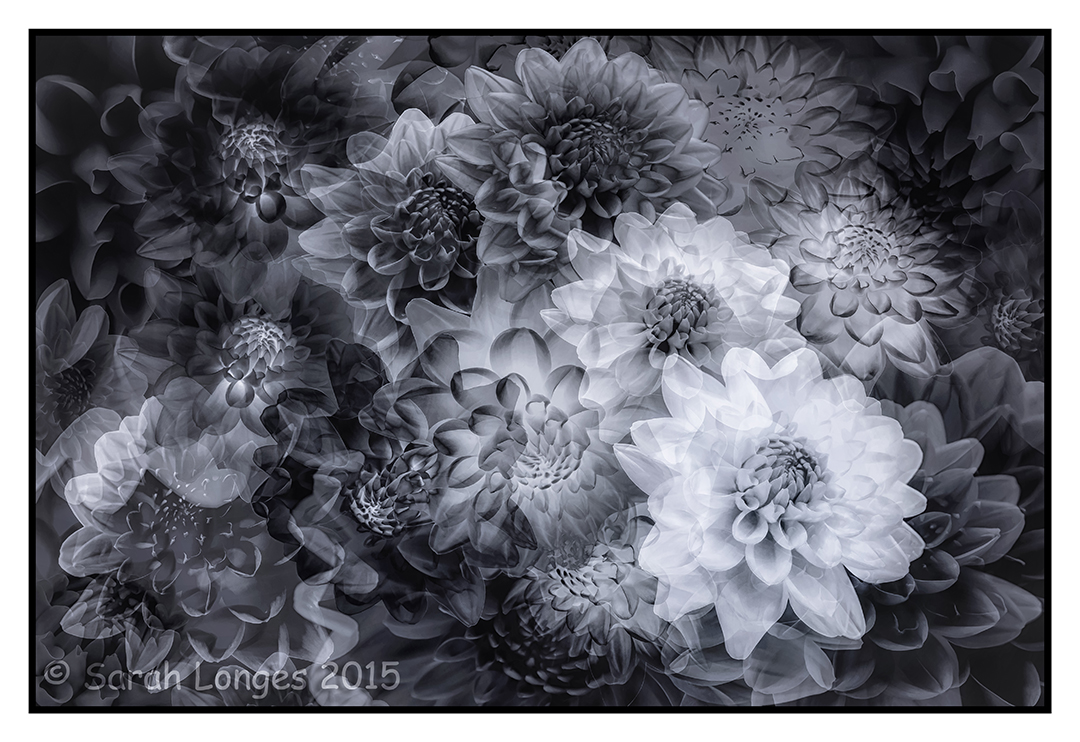
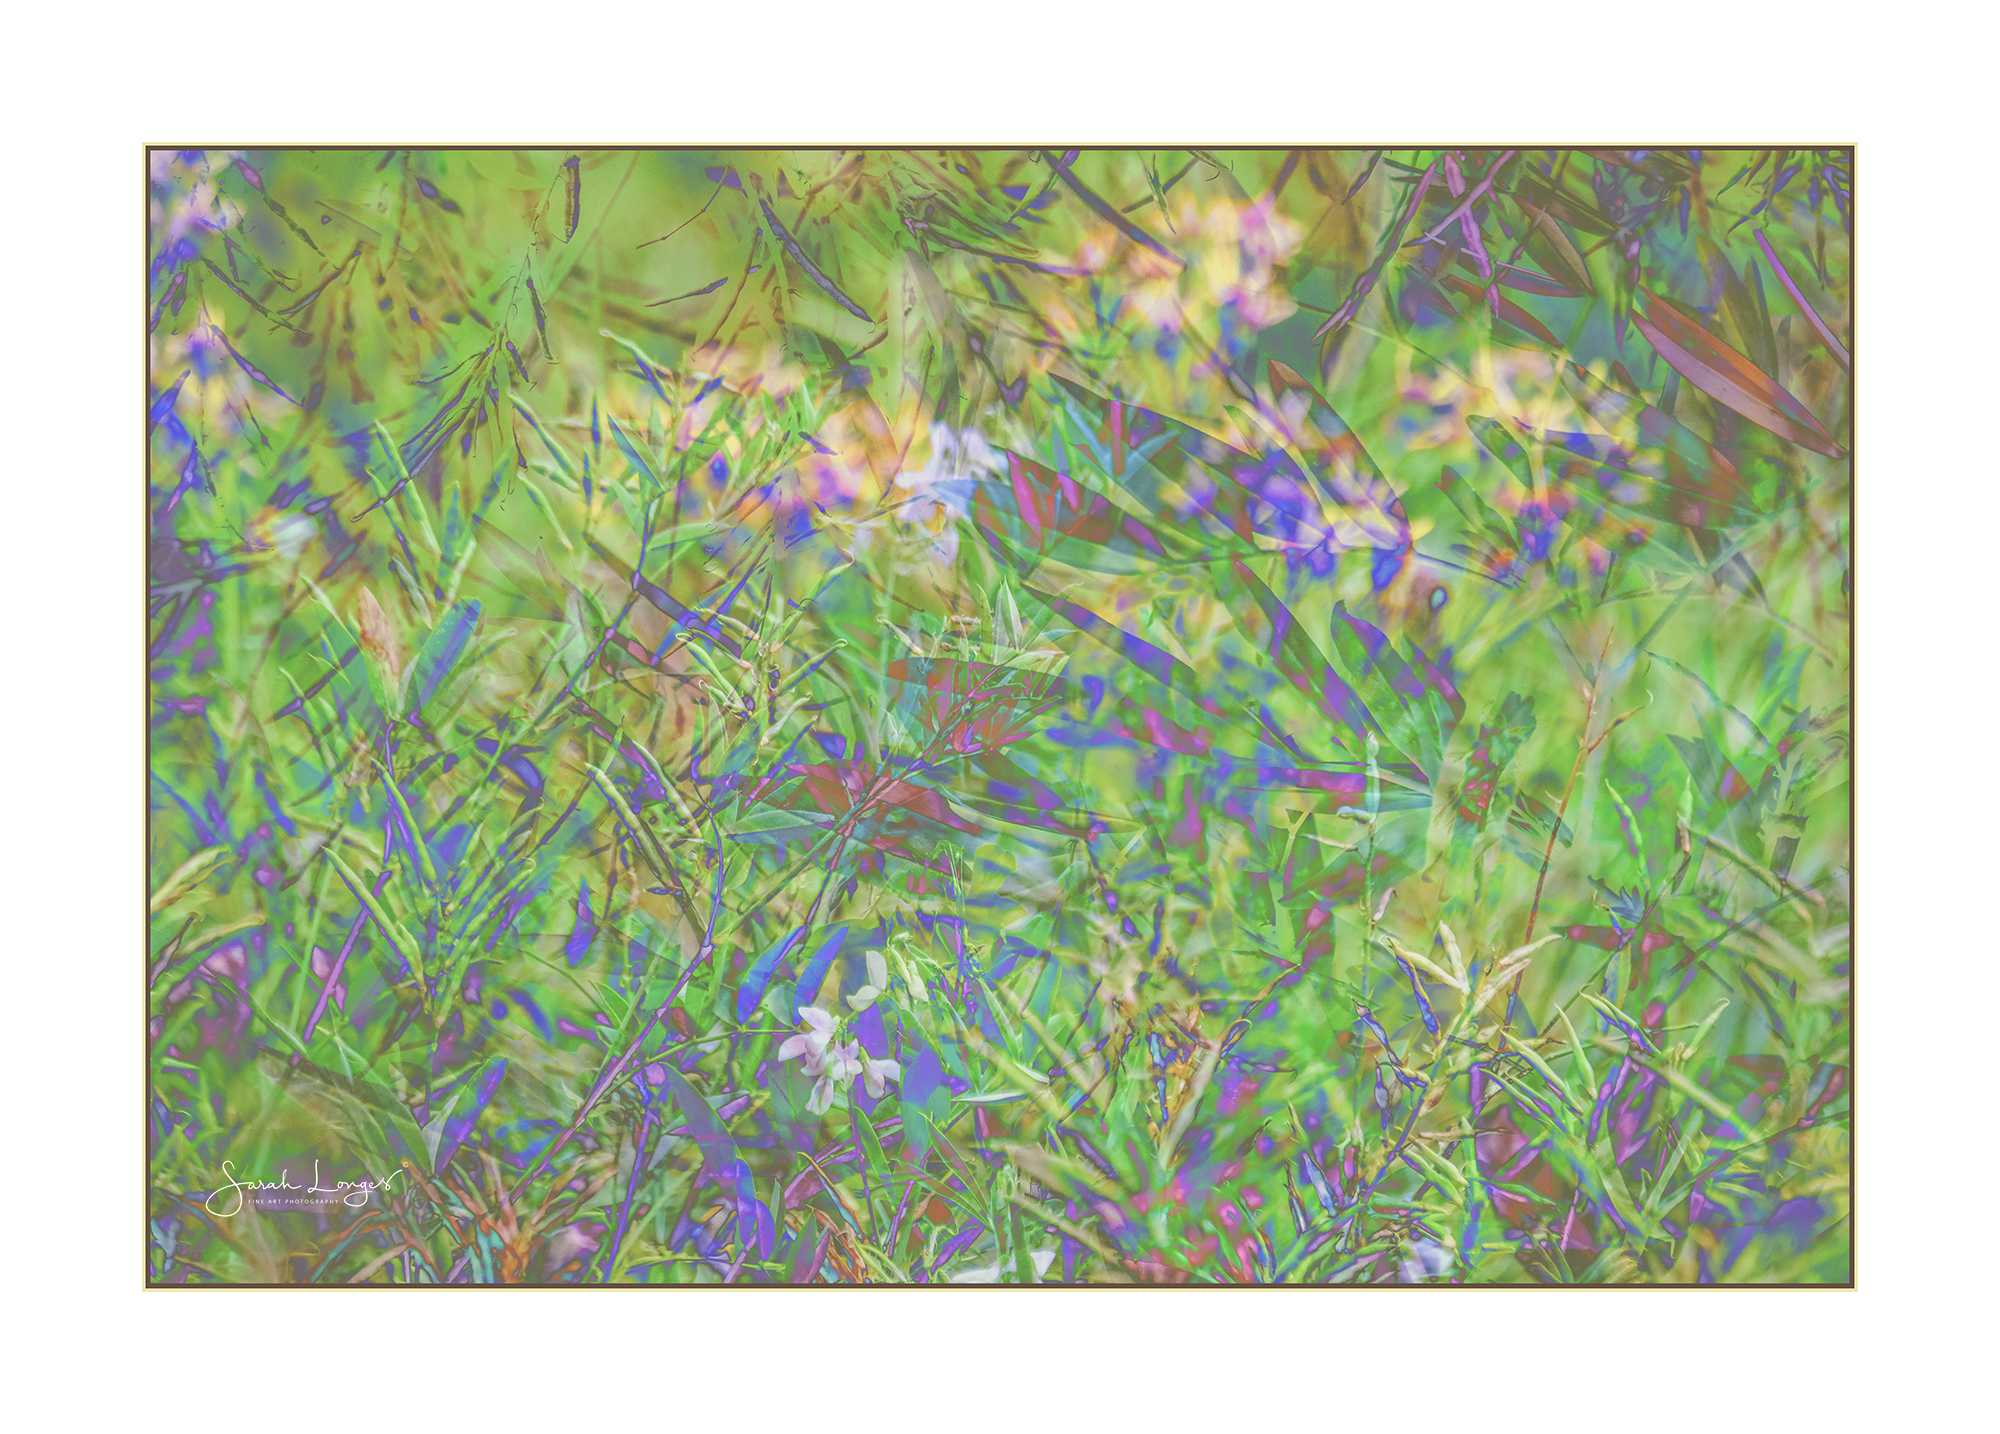
The elegant structures of late summer seed-heads, pods and grasses, really appeal to me. Isolated, they can be amazing minimalist subjects. Layering up an image with multiple exposures, either in-camera or using digital software, can be used to emphasise the cluttered nature of wildflower meadows or areas of scrub land. These are really important habitats for many wildlife species. The primary layer of a vibrant ecosystem.

Vetch

Of course many of the metals and chemical compounds that were used in these old techniques are also used in various forms of photographic print making. We often refer to these techniques as Camera-less Photography. The most well known techniques are photograms and cyanotypes. Both involve using chemically treated paper, laying objects on, or above, the paper and exposing it to light. A process that I was very interested in at Art College was solarisation, first popularised by Lee Miller and Man Ray in the 1920’s and 30’s. It can be used when developing from negatives or when using objects for photograms. The exposed paper is treated with developing chemicals and then another exposure is made. This can either be pure light exposure or a double exposure using a negative, or more objects, in slightly different positions on the paper. It’s very experimental and hugely satisfying!

Echo

Not all of us can get access to darkrooms, space for cyanotypes or digital cameras that allow for multiple exposures! All these images in this post have actually been created in Photoshop using multiple layers and blending modes to recreate the styles and results that you would expect to get from analogue printmaking. Nik Software also has tools for recreating these effects, called Analog Efex Pro. I took the separate photos to create these images in a brief moment of sunshine at Heron Lake, where I have been going open-water swimming. The lake is surrounded by reed-banks, scrub and woodland.

Teasing Light

It’s a great habitat for wildlife, although much of it was still in hiding from the thunderstorms that hit us on Wednesday! Our swim sessions had to be delayed for an hour to ensure that the thunder and lightening had cleared. I did find a slightly bedraggled wren, hiding in an elder bush, while I was looking for suitable plants to photograph for this project. If only it had braved the light! Still, it was great to see it scampering around the branches and staying sheltered.

Young Wren

I hope everyone has a great week, and if the weather doesn’t allow for your usual photographic styles and subjects, try something experimental!

Image

One Four Challenge: February Week 3

One Four Challenge: February Week 3

One Four Challenge: February Week 3

February is flying by and we’re already onto the third week of this month’s One Four Challenge, hosted by Robyn Gosby at Captivate Me. Some of you may have guessed by now that I’m attempting to recapture the feel and look of Fine Art processes that I have used in the past. This month’s edit is inspired by the very short experience I had of print making during my A level studies. I really loved it! I made a series of self portraits using lino, block and screen printing techniques. I’ve tried to capture the essence of those techniques in this pop-art style image.

Photoshop CC
Clean up base
Select Figure with Polygonal Lasso
Refine Edge
Layer Via Copy
Add grey background
Invert Difference Blending (Save Portrait 1)
Invert Divide Blending (Save Portrait 2)
Invert Normal
Copy Figure Layer
Multiply Blending
Invert Screen Blending (Save Portrait 3)

Create New 3×2 Ratio White Background
Copy and Paste in all 3 Portraits
Arrange with right hand figure as 1st Layer
Use Polygonal Tool to select and remove white overlapping areas
Use Soft Low opacity Eraser to blend images

Greater Than Gatsby
Soft Pearl Matte 20%
Reduce Noise
Your New Aesthetic 25%
Brilliant Dance 20%
Vinyl Revival 30%
Painterly Soft 20%
Flatten Image

Lightroom
Use masking brush to reduce clarity and and sharpness to areas of skin while increasing clarity to hair and facial features

Colour Efex Pro
Tonal Contrast Fine
Classical Soft Focus and Diffuse selectively
Colourise Soft Pink
Ink
Pro Contrast
Glamour Glow Cool

Image

One Four Challenge: January Week 3

One Four Challenge - January Week 3

One Four Challenge: January Week 3

It’s the third week of this month’s One Four Challenge, from Robin Gosby at Captivate Me, and I’ve used another combination of processing software to produce something completely different! I don’t expect anyone to try counting them, but there are twenty-four versions of my original dahlia in this composition.

Here’s the list of the processes I took and a gallery of the images.

Photoshop CC
Polygonal Lasso Tool
Select main flower head
Refine edge – feather, smooth and reduce size

Delete Background layer
Apply BW Filters: Yellow, Neutral Density, Maximum Black, Infrared, Blue, Red Filter

Create an invert of all BW versions

Add Black Fill Layer To Background

Copy and paste all versions of the BW Flower
Resize, rotate, and arrange
Duplicate selected layers to completely fill the image
Blend with a combination of Luminance, Overlay, Hard Light and Difference
Use Soft Eraser at Low Opacity to gently soften petal edges and details
Merge Visible
Flatten Image

Greater Than Gatsby
Lighthouse at 15%
Stillwater at 25%
Clean Drama at 25%
Soft Cool Burst 20% bottom right

Lightroom
Import with GTG Muted Edit Preset
Drop Clarity -10
Vignette +10

Nik Software
Colour Efex Pro 2
Tonal Contrast
Detail Extractor
Pro Contrast
Glamour Glow
Graduated ND

Export to Lightroom
Noise Reduction
Split Toning mauve highlights

Image

One Four Challenge: January Week 1

One Four Challenge - January Week 1

One Four Challenge: January Week 1

I decided to play with a photograph of one of my favourite flowers this month. It’s a dahlia that I pictured at RHS Wisley Gardens last September at their annual flower show. This week’s edit is soft and dreamy, maybe something that my 9yr old goddaughter would enjoy as a screen saver or wall poster. I will also show you the original image and a basic Lightroom edit, that will be the base image from which to work with over the course of the month. For January’s One Four Challenge, from Robyn Gosby at Captivate Me, I have decided to use a combination of processing software programs to create a totally new look each week.

Here are the processes that went into creating my first edit:

Nik Software
Analogue Efex Pro 2
Double exposure
Bokeh with blur
Basic Adjustments – reduce contrast, brighten, increase detail, decrease saturation
White Vignette
White Frame

Photoshop CC
Duplicate Background Layer
Clone Tool to remove unwanted detail
Blur Tool around edges
Screen Blending 100%
Duplicate of Background
Soft Light Blending 70%
Merge Visible

Greater Than Gatsby Photoshop Actions
Carving Tree Collection
Tickled Pink 30%
Bright Pink Burst – top right
Soft Pink Burst – bottom left
Innocence Collection
Create Depth Brush
Amelia Bedelia 70%

Adobe Lightroom
Reduce Noise
Adjust Hue, Saturation and Lightness

Here’s the gallery for your perusal 🙂

Image

One Four Challenge: Christmas Special

One Four Challenge: December Week 4

One Four Challenge: Christmas Special – December Week 4

The fourth week of this great challenge from Robyn Gosby at Captivate Me will be my last post of 2014. I want to thank you all for your fantastic support and inspiration this year! I hope everyone has a wonderful Festive Season and New Year.

2015 is going to be a wonderful year for me with my wedding to Simon in Kos, Greece, in May and exciting new ventures with my photography. I may have to scale back on all the blogging Challenges and Themes to focus on other projects but I hope to continue with One Four throughout the year. It’s been great fun!

For this week’s image I made use of Photoshop CC’s Motion Blur, Warp Transform, Liquidise and Invert (among other filters) to make a free-flowing, painted look to my edit. I really wanted to fill the frame with colour and movement! This edit is now vastly different from the original photograph, which I will now reveal in my gallery! I really hope that my edits this month can inspire others to experiment with digital art, to paint with light using both the camera and post processing.

Do you have a favourite? Let me know in the poll and comments!

Image

One Four Challenge: December Week 3

One Four Challenge: December Week 3

One Four Challenge: December Week 3

I’ve taken some inspiration this week from the Weekly Photo Challenge: Twinkle. I also wanted to make more of a feature of the original subject. I’ve created so many adjustment layers and new background layers for further adjustment that it’s a bit too hard to explain my process step by step! Much of what I do when I’m creating an abstract is unconscious experimentation. To me it feels a lot like the process of painting with oils, creating layers of tone and colour that can be moved around and remoulded to continuously reshape a picture as it grows in your mind’s eye. This one felt like it was growing into a fun starburst! So I do apologise for not going through all my steps this week and just focusing on the resulting image. Hope you all find as much fun in it as I have! Thank you to Robyn Gosby at Captivate Me for hosting this fascinating challenge.

Here are the three edits so far for December:

Image

Blue Monday and Weekly Photo Challenge: Twinkle

Blue Star

Blue Monday and Weekly Photo Challenge: Twinkle

Twinkle, twinkle, little star,
How I wonder where you are?
Up above my tree on high,
A diamond sparkling in my eye!

Image

One Four Challenge: December Week 2

December One Four Challenge Week 2

One Four Challenge: December Week 2

I love using abstract digital art to lead a viewer deep inside an image! The first edit of my December image became very vortex-like and reminded a few of us of Doctor Who. I thought I’d stick to a SciFi theme this week that is somewhat inspired by a surreal and brilliant scene within the film Interstellar. How would we see the passage of space and matter when moving at near-lightspeed? How would beings who perceive space in a different dimension to us, whether two or five dimensional, view our world? The mind boggles but it certainly makes for some fun artistic interpretations!

There are eight layers in my image this week which has once again been created using Photoshop. Initially I softened my subject with a Gaussian Blur, then applied a Faded Extrude filter to keep a boost of colour. I then applied a Motion Blur and created three copied layers which were flipped horizontally and vertically and merged with Screen Blending. As ever, many thanks to the lovely Robyn Gosby at Captivate Me for this inspiring challenge 🙂

I’m still keeping the original secret, but here are the two edits so far for this month:

Image

One Four Challenge: December Week 1

December One Four Challenge Week 1

One Four Challenge: December Week 1

A new month, a new image and a whole new look! I’m going abstract for December’s challenge from Robyn Gosby at Captivate Me. As it’s the start of the silly season (Christmas!), I’ve chosen coloured lights as my subject. I’m going to be terribly mean to you all though and not reveal my original image until the very end of the month!

I’m working in Photoshop CC this month to create my abstracts. I’m using lots of layers but they’re all derived from the one image. I won’t add any extras in this month. Maybe for a future One Four?

The six layers in this image were treated with a combination of blurs and blended using four different modes. I adjusted contrast, saturation and levels. I finished by merging my layers and adding two canvas sizes, blue and black, to frame the abstract.